Duck Power
Sell high. Store low. Don't be a sitting duck.
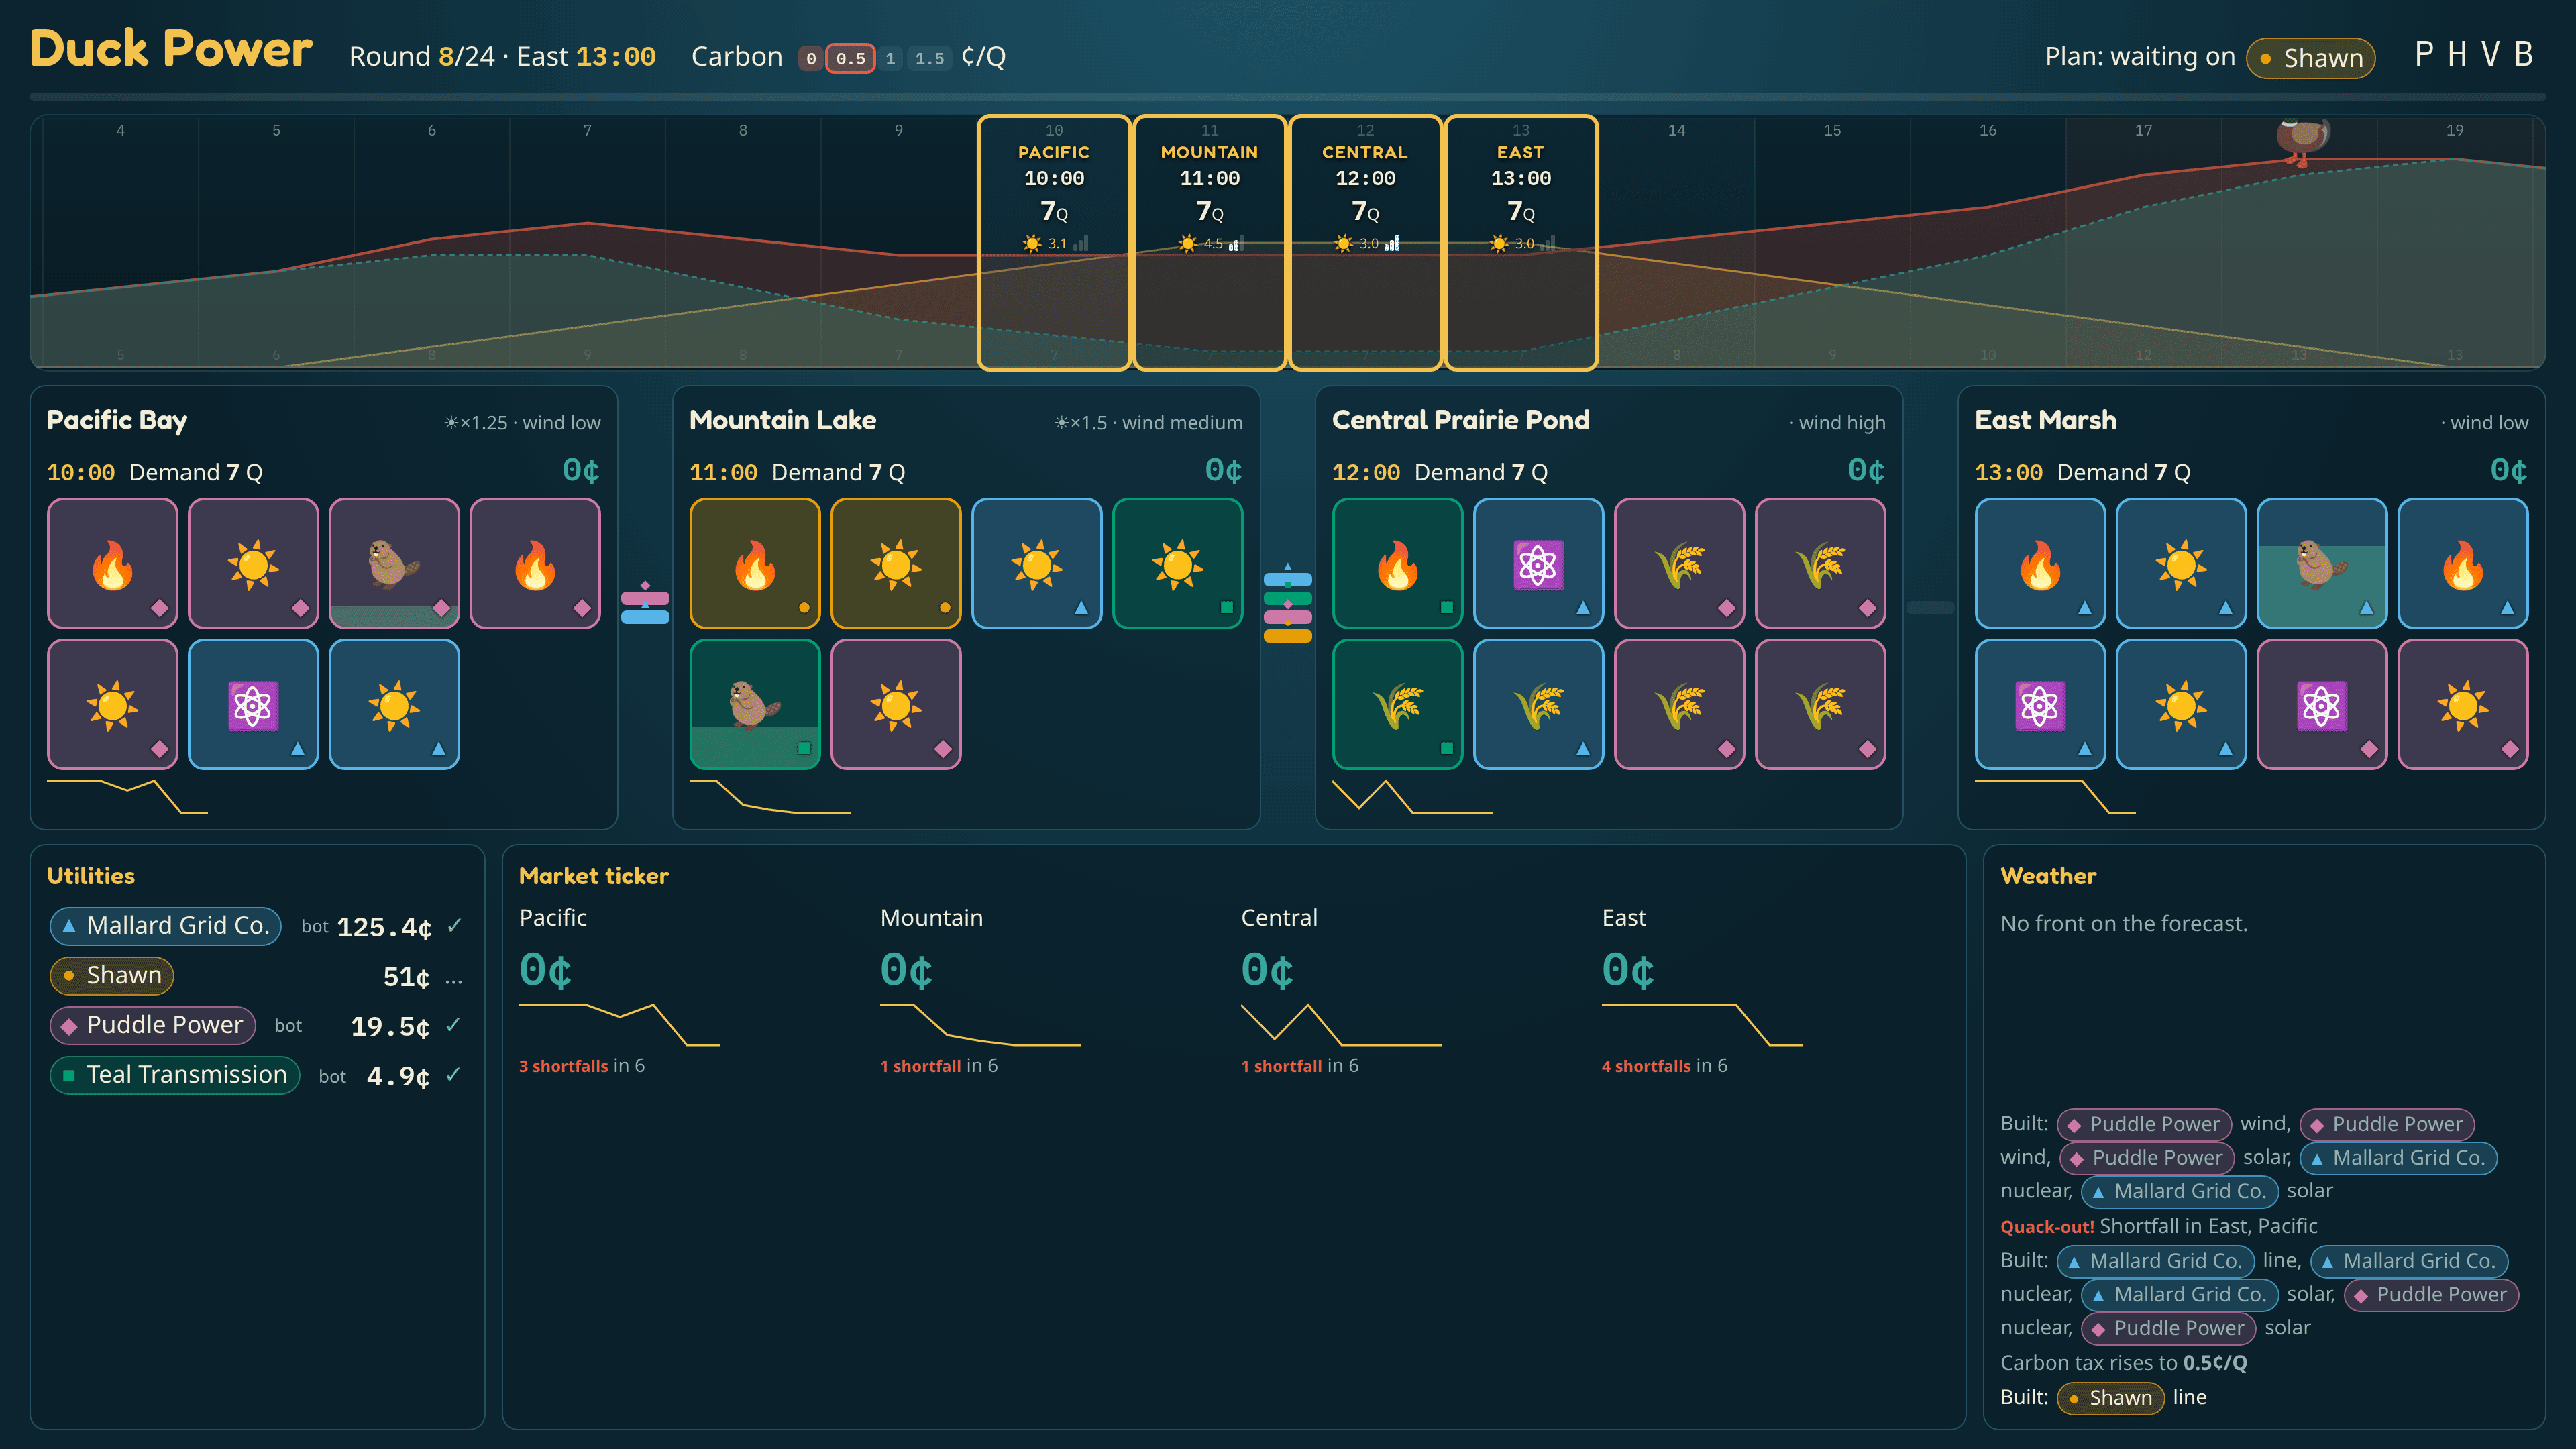
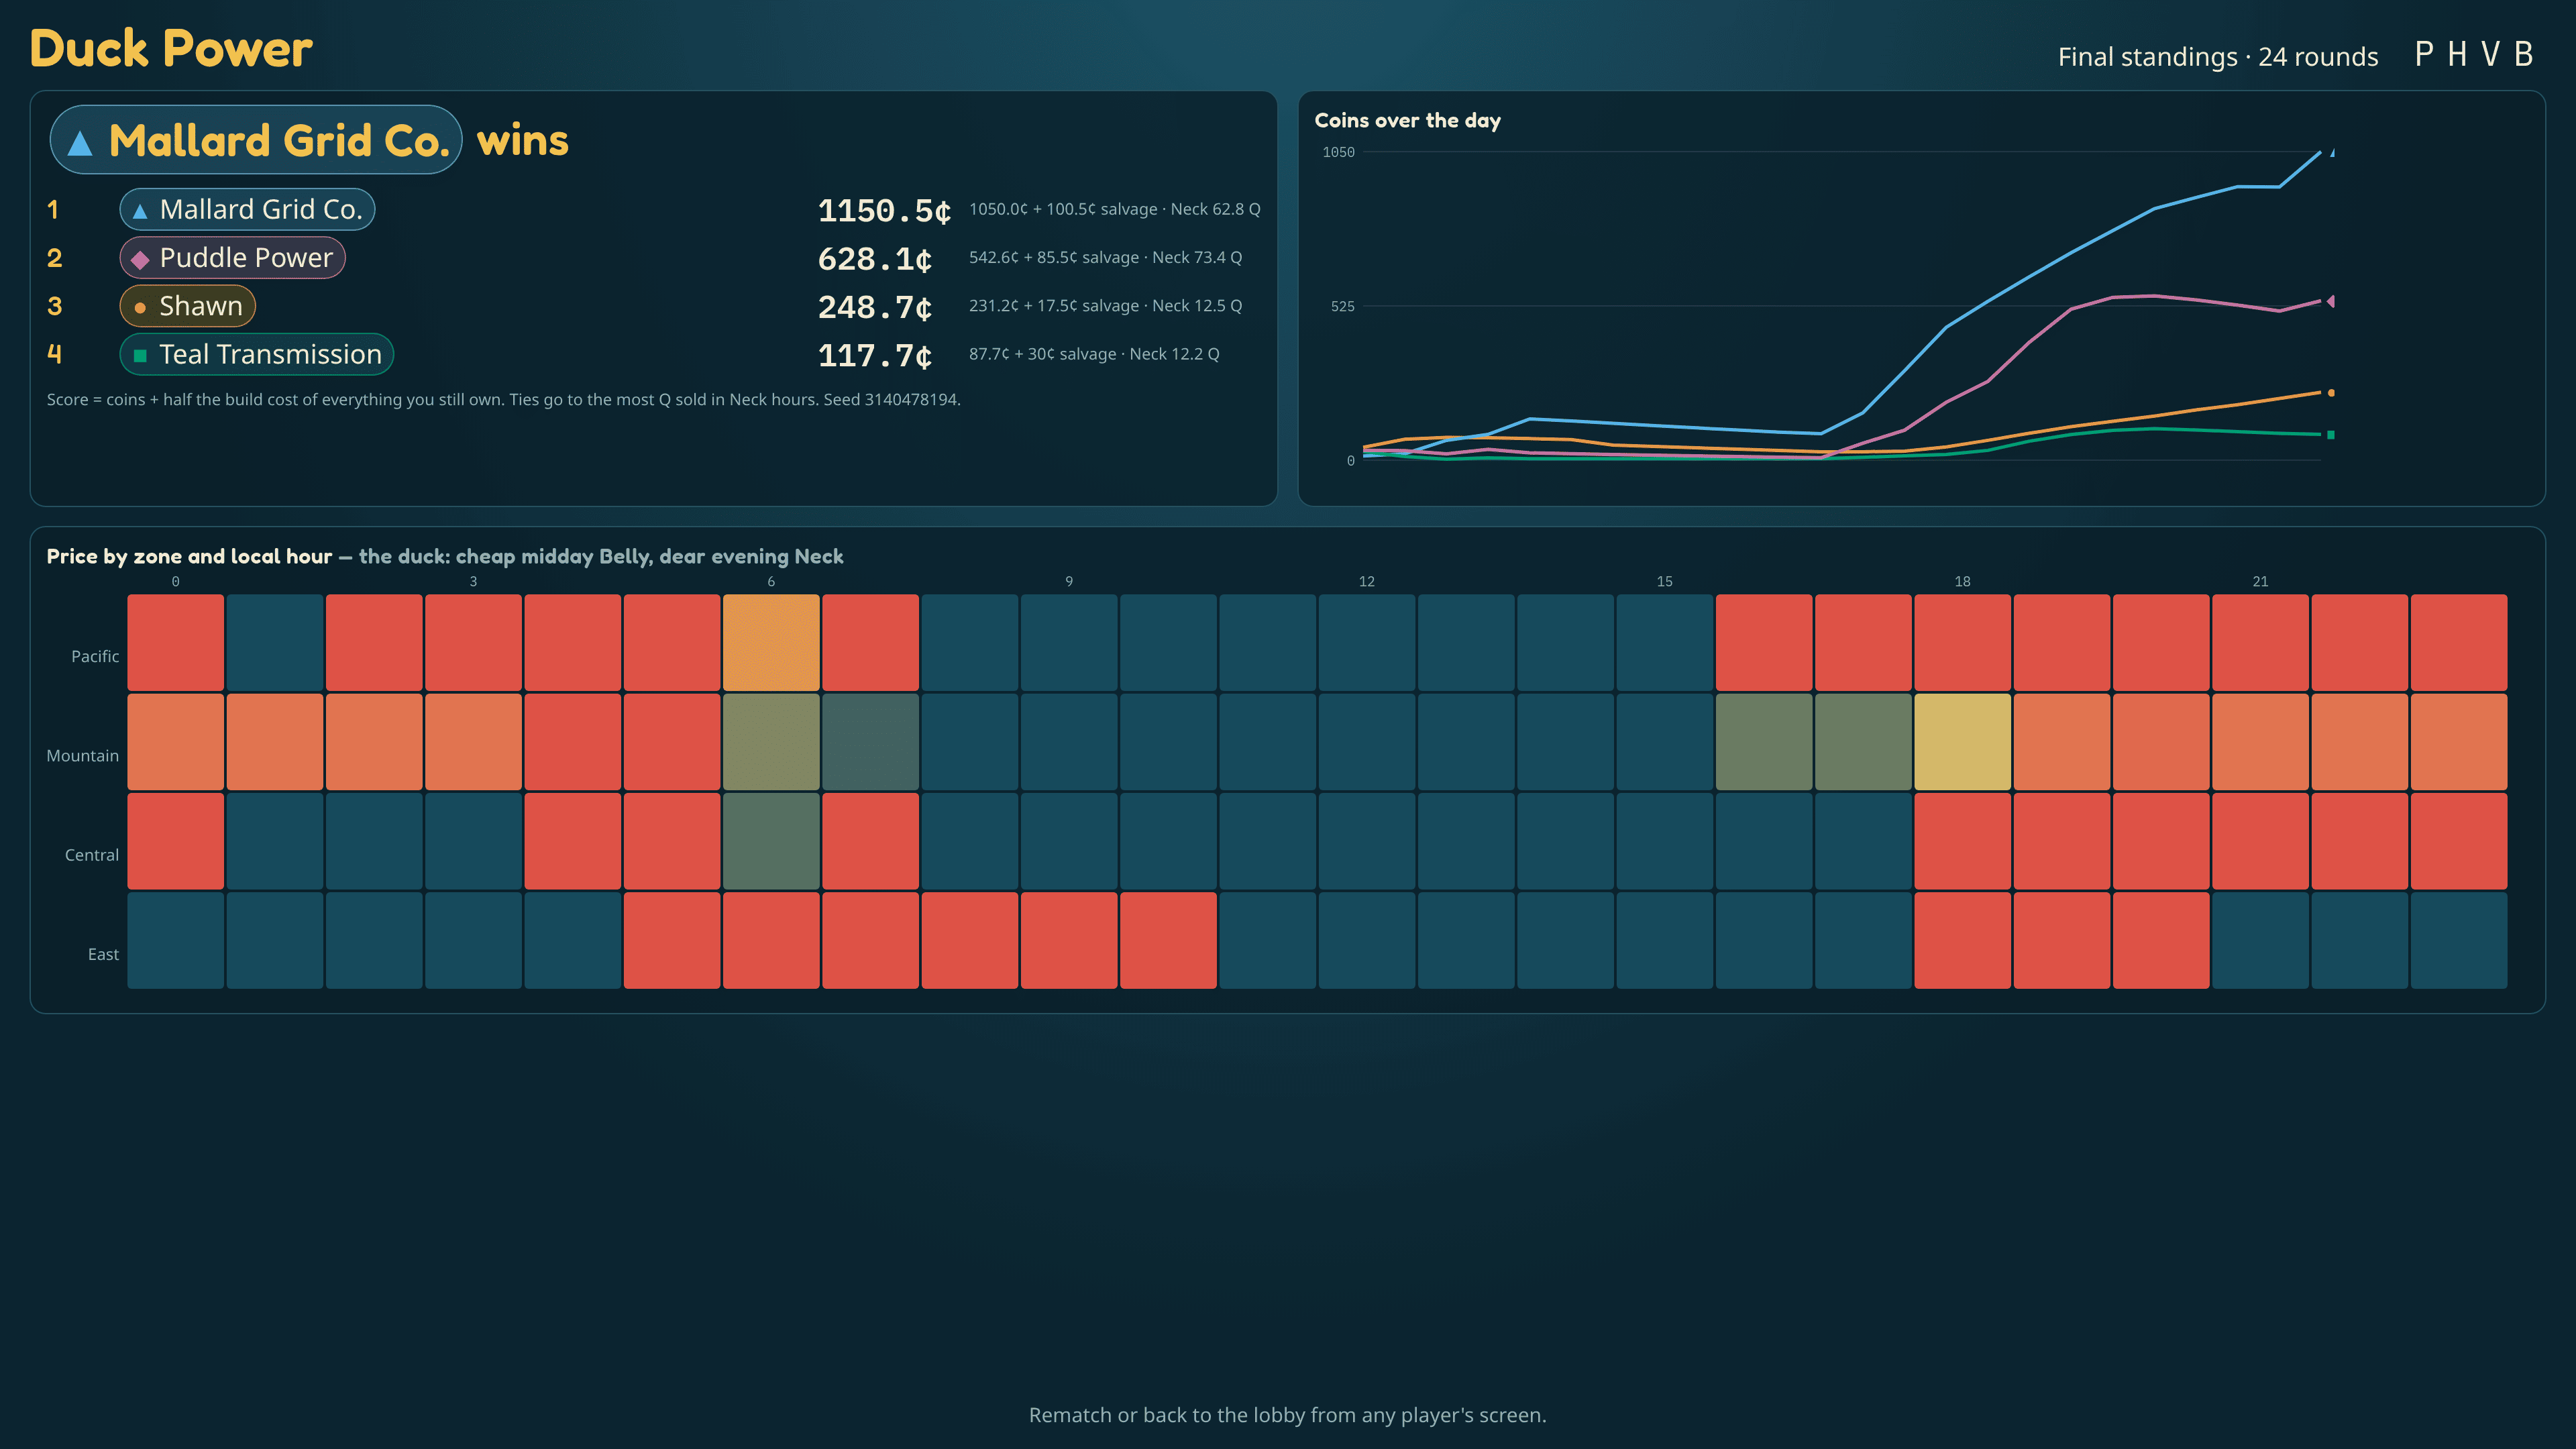
Rival duck-run utilities on a continent of four time zones. Every round is an hour. The sun rolls west across the map, the midday Belly crashes prices, and the evening Neck pays big. Have power where the Neck is.
Play on this computerOpen the board (TV)Phones only1–5 players. Bots fill the empty seats.
Open tables
Looking…
How a round goes
- Slide. The clock moves an hour. One Demand Strip slides a notch under four Zone Windows, one hour apart, so Pacific sees 15:00 while East sees 18:00. Weather fronts drift west to east; the carbon tax creeps up every 6 rounds.
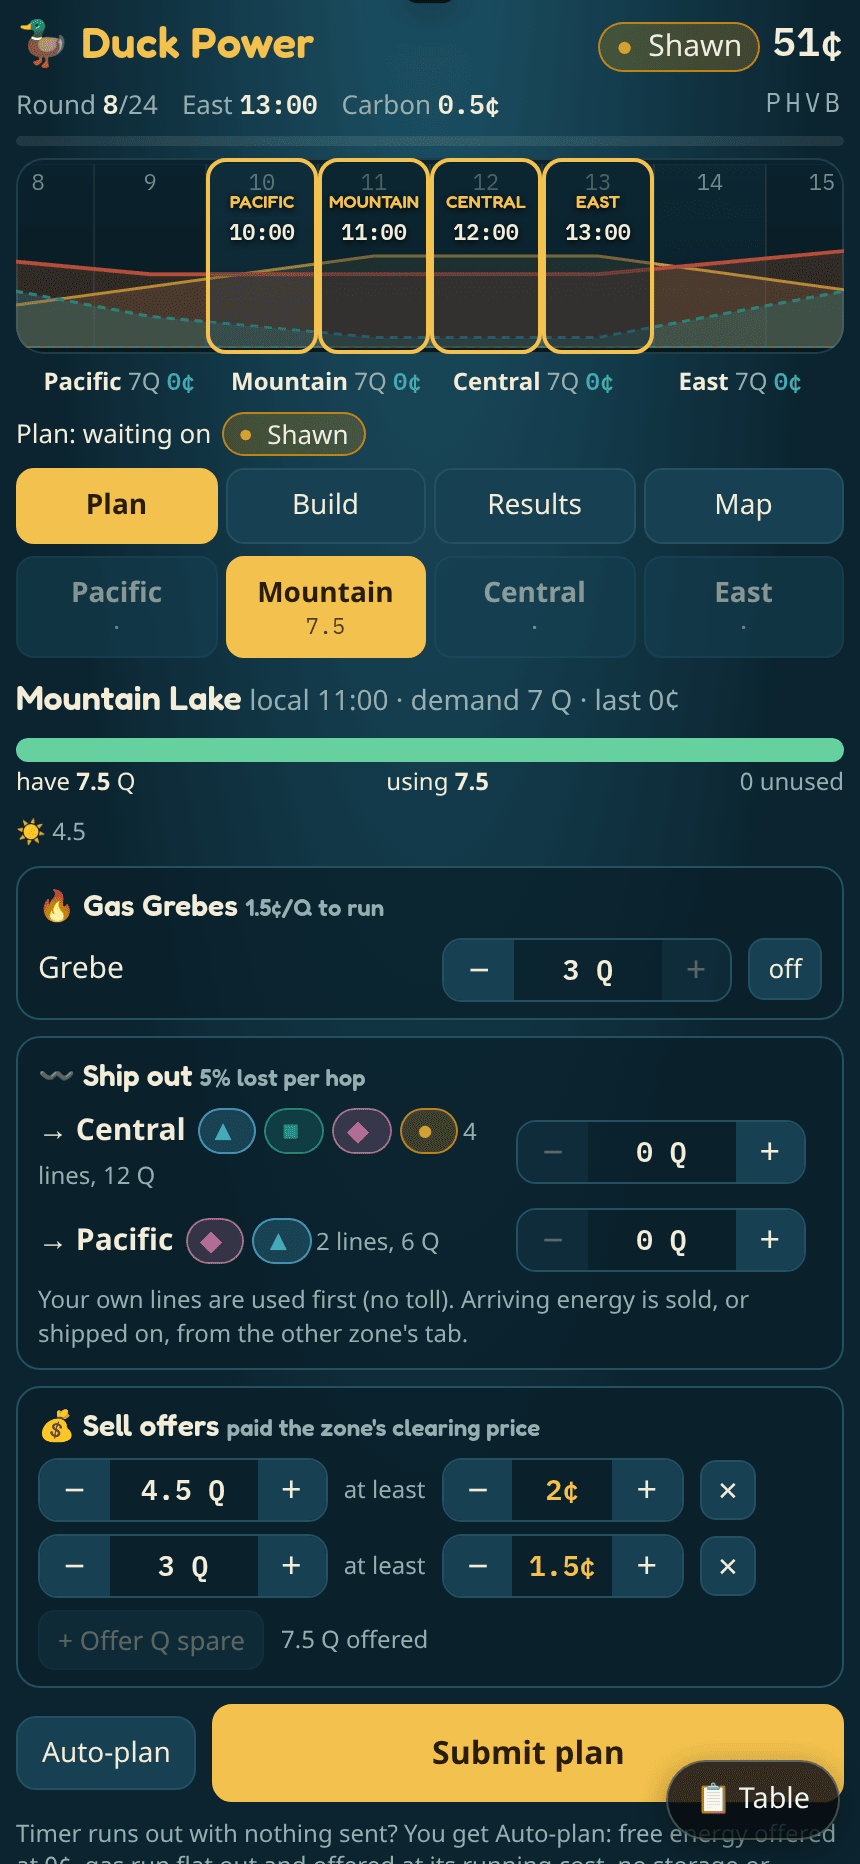
- Plan (hidden, simultaneous). For each zone: run your gas (0–3 Q), charge or spend storage, ship power to a neighbouring zone over a line (5% lost per hop, 1¢/Q toll on someone else's line), and post sell offers: a quantity and the lowest price you'll take.
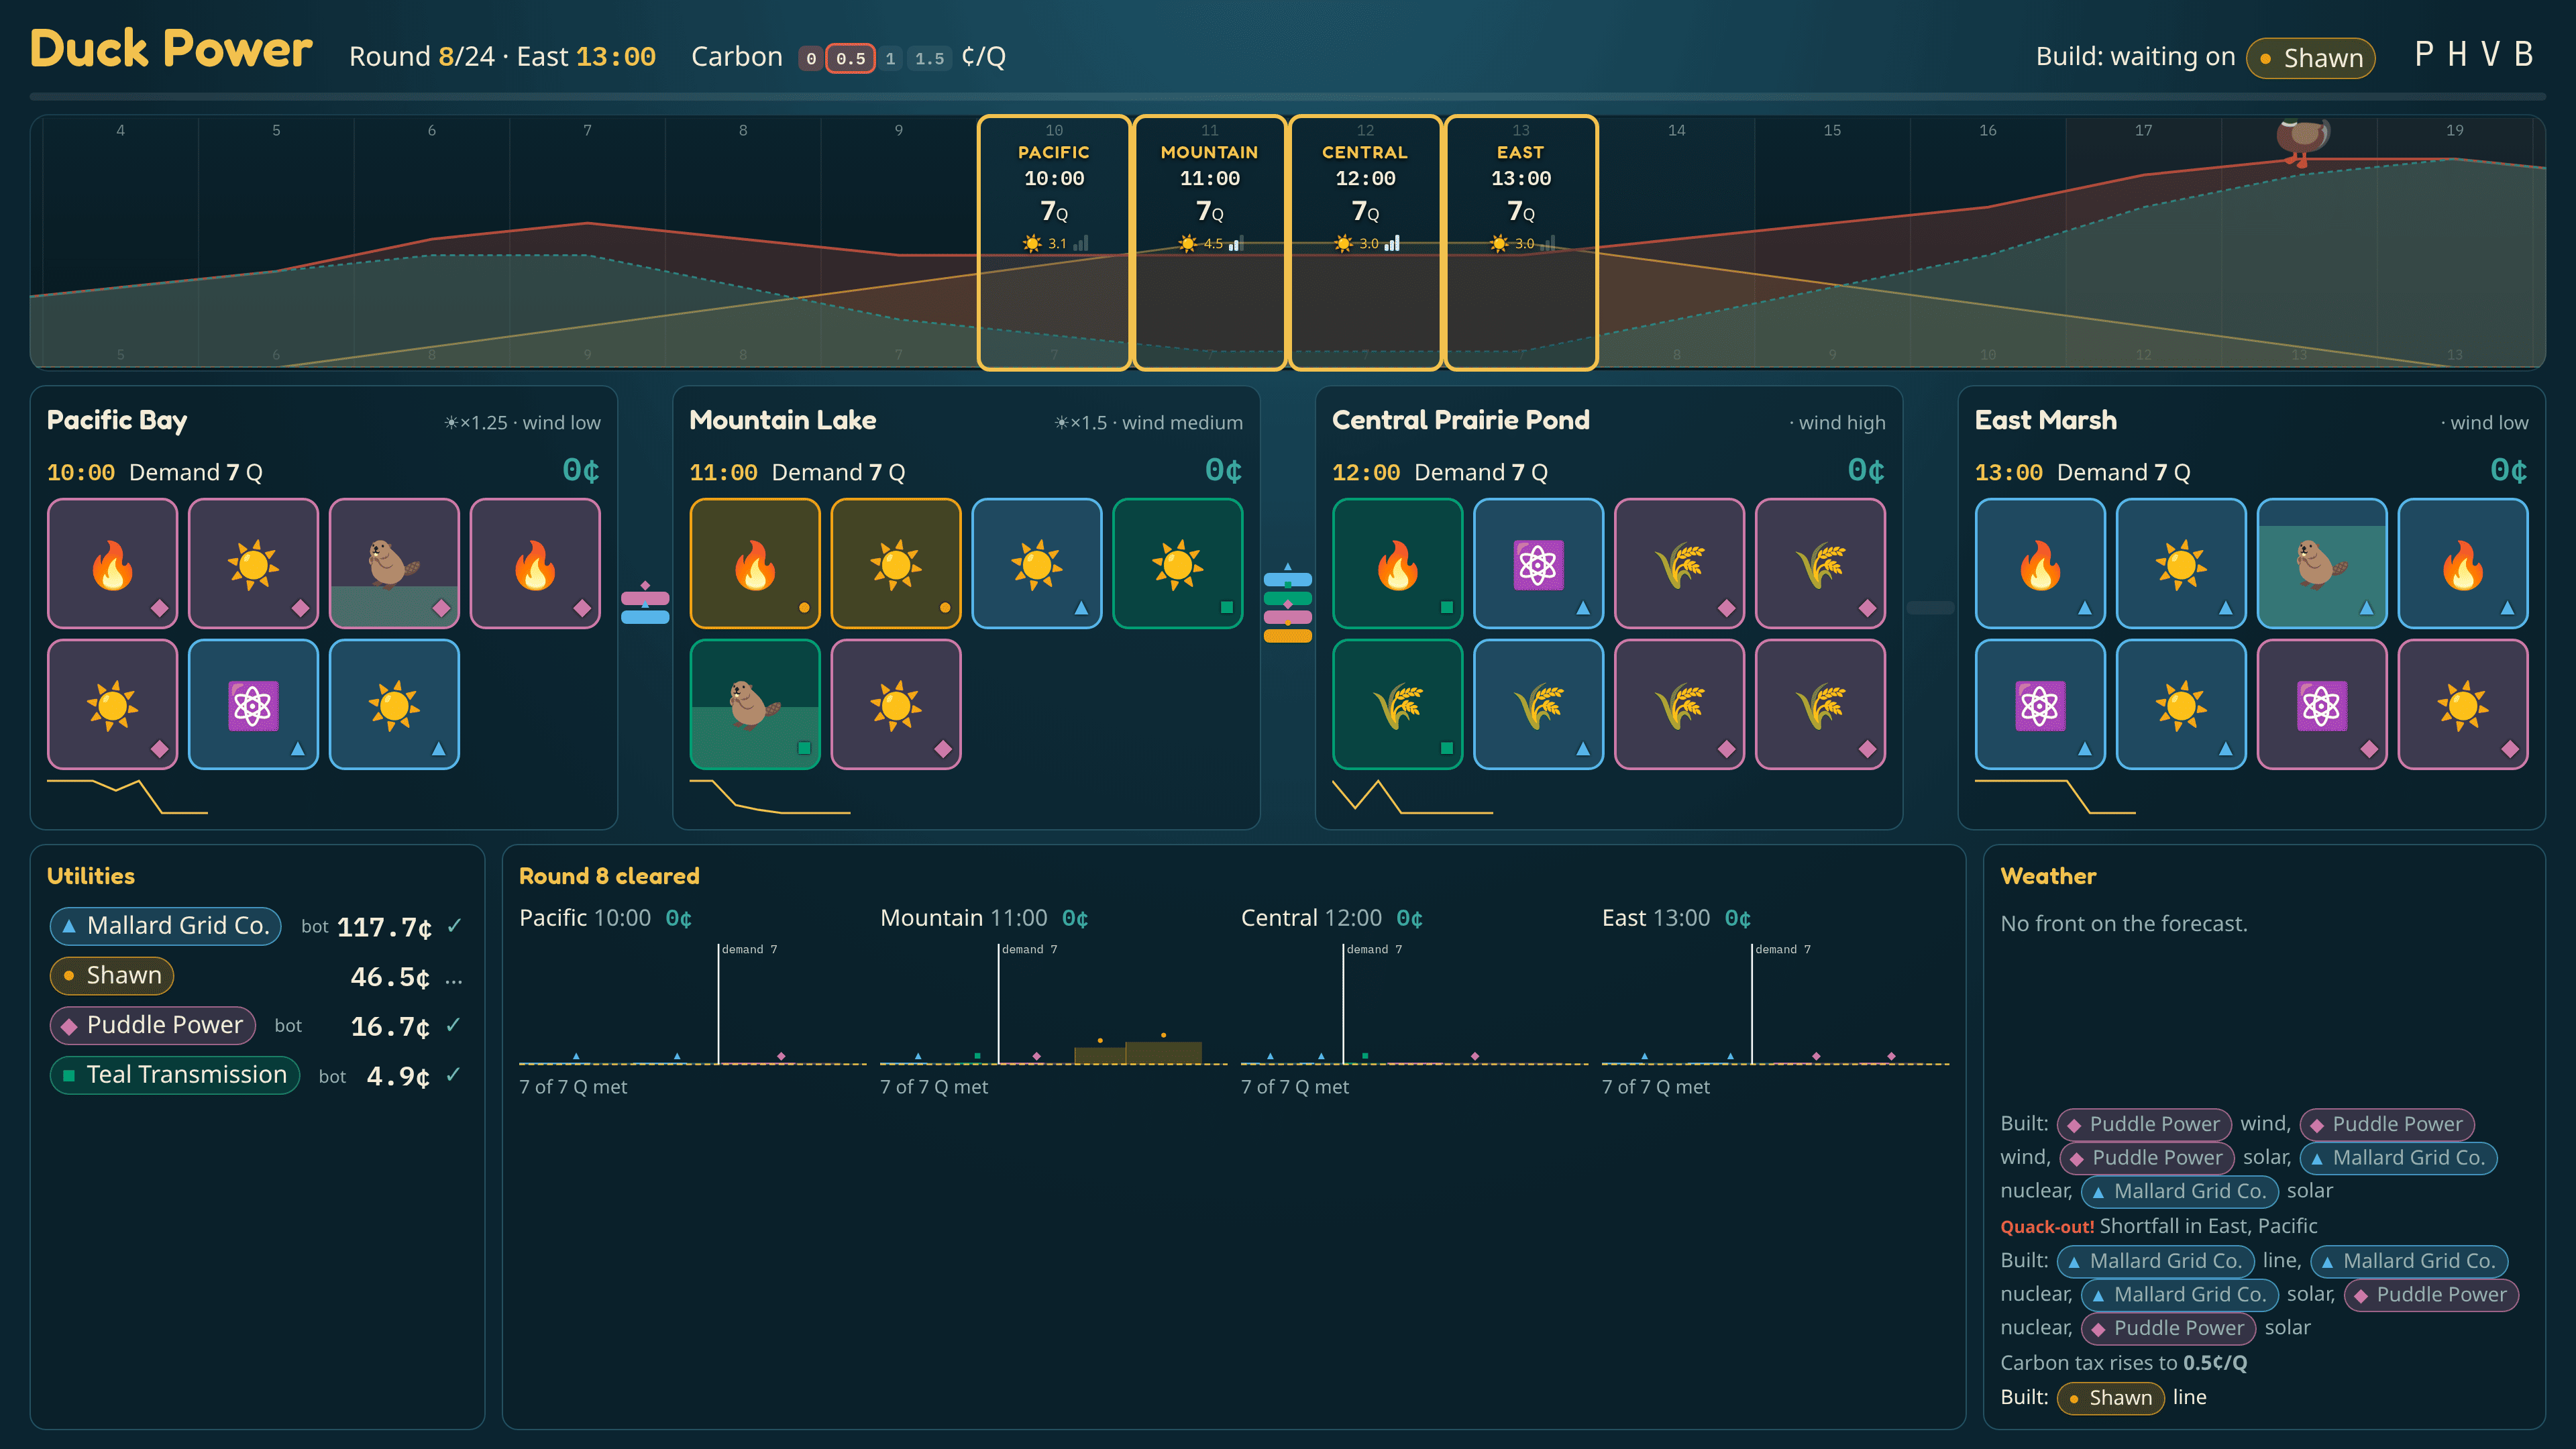
- Clear. Each zone takes the cheapest offers until its demand is met. Everyone accepted is paid the last accepted price. Not enough offered? The price jumps to the 10¢ cap and the zone has a Quack-out.
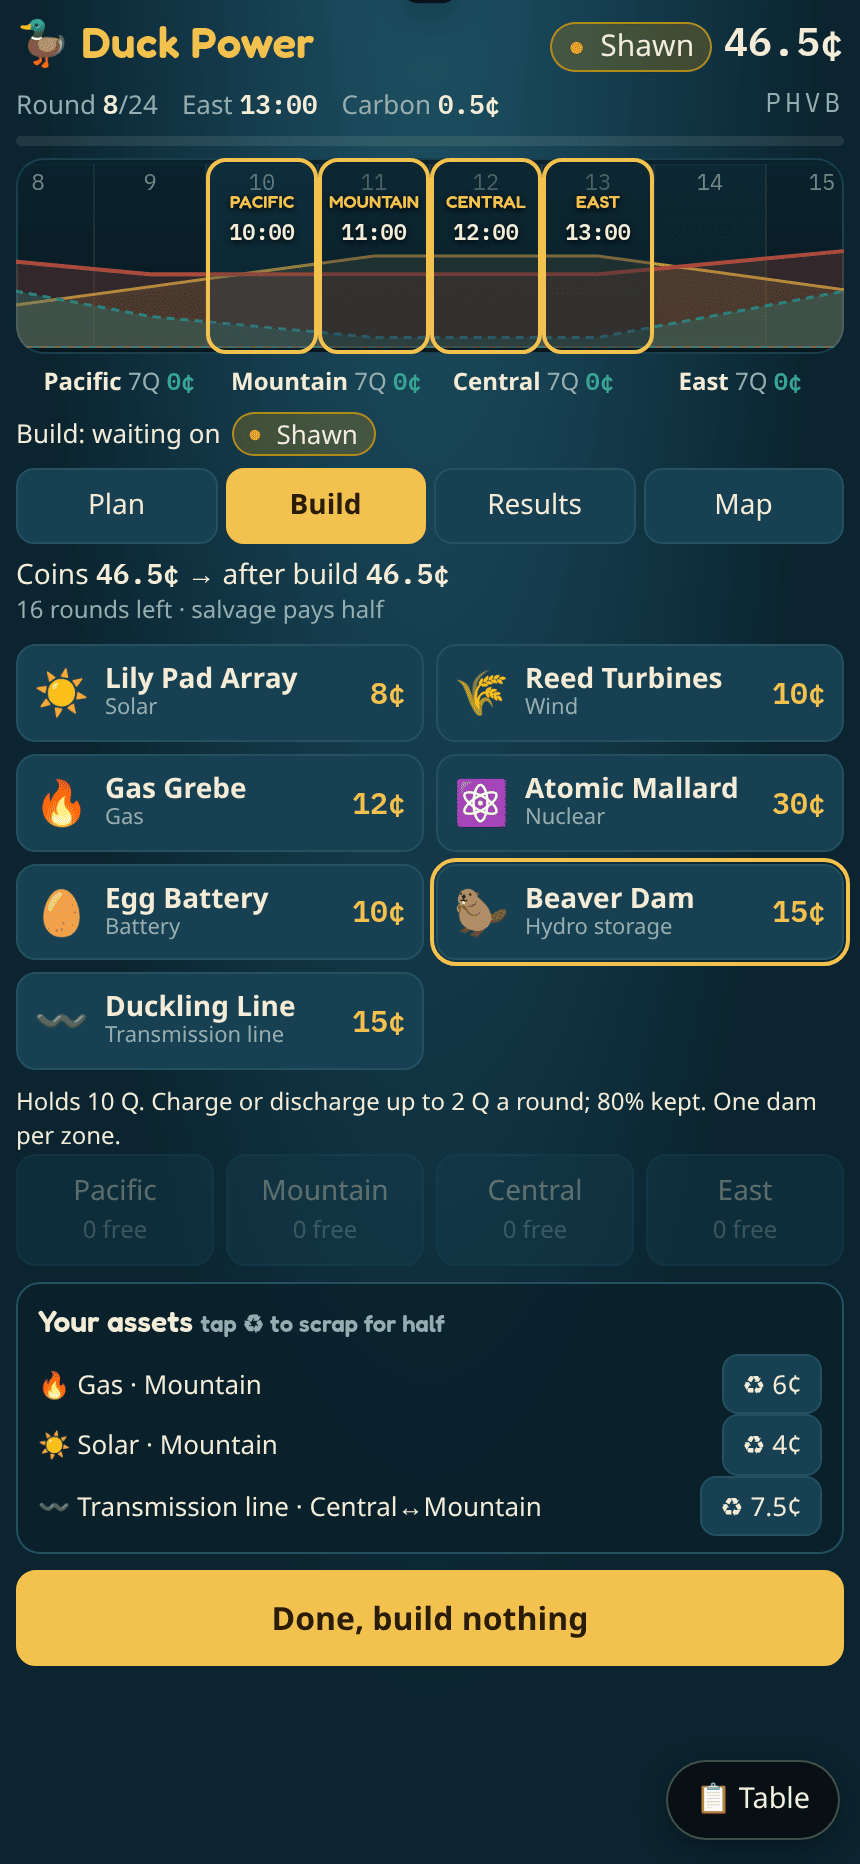
- Build (hidden). Buy assets into zones with free slots. They come online next round. Scrap for half.
The player who sold the most in a zone during its Neck hours (17–20 local) is that zone's Peak Hero (+2¢). Most coins at the end wins; whatever you still own counts at half its cost.
What you can build
| Asset | Cost | What it does | |
|---|---|---|---|
| ☀️ | Lily Pad Array (solar) | 8¢ | Sun × zone multiplier. Free, can't be dispatched. Mountain gets ×1.5. |
| 🌾 | Reed Turbines (wind) | 10¢ | Makes the zone's wind level, 0–3 Q. Central is windiest. |
| 🔥 | Gas Grebe | 12¢ | 0–3 Q when you choose. 1¢/Q fuel + carbon tax. |
| ⚛️ | Atomic Mallard (nuclear) | 30¢ | 4 Q every round, no matter what. Unsold output pays 1¢/Q to dump. |
| 🥚 | Egg Battery | 10¢ | Holds 4 Q, moves 2 Q a round, keeps 90% of what you charge. |
| 🦫 | Beaver Dam | 15¢ | Holds 10 Q, moves 2 Q a round, keeps 80%. One per zone. |
| 〰️ | Duckling Line | 15¢ | 3 Q each way between neighbours. Others pay you a toll. |
Weather
A quarter of rounds forecast a card, and everyone sees it a round before it lands: Cloud Fronts (solar halved, drifting east a zone a round), Heat Waves, Cold Snaps, Gales, Dead Calm, a Plant Trip (one gas or nuclear plant offline) or a Line Sag (one line carries half).
What it looks like